> ## Documentation Index
> Fetch the complete documentation index at: https://docs.abbyy.com/llms.txt
> Use this file to discover all available pages before exploring further.
# Create a flow action
> Create a Pega flow action in Dev Studio that lets users enter case data, display the ABBYY FlexiCapture verification page, and add files to the case.
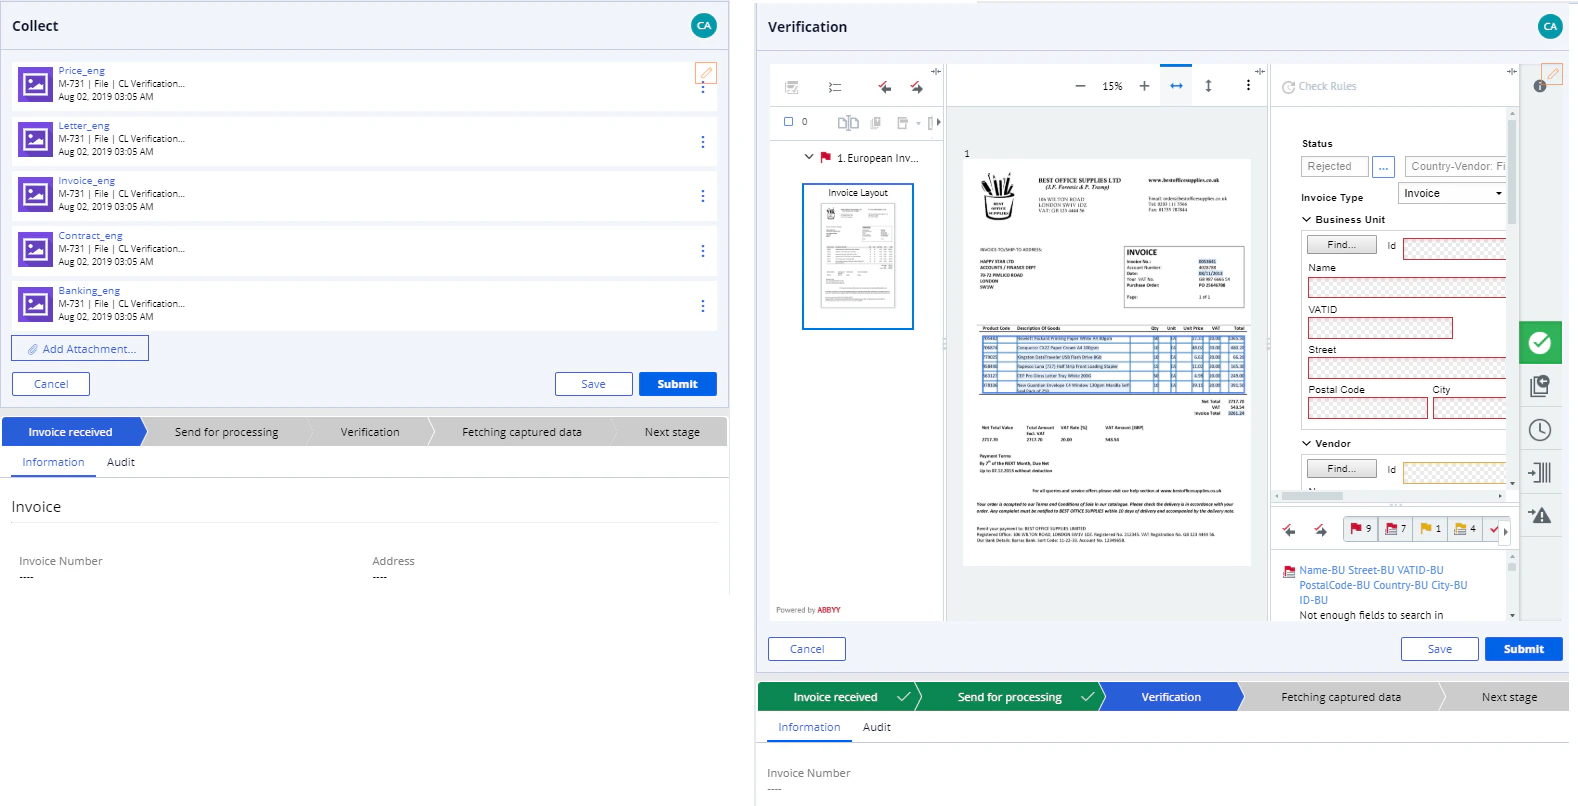
A [flow action](https://community.pega.com/sites/default/files/help_v63sp1/Content/definitions/f/flowaction.htm) allows the user to enter and modify case data. The flow action in this example displays the verification page and the controls for adding files to the case.
For more information, see [Create the verification section](/flexi-capture/connectors/pega/pega-verification-section) and [Create the file collection section](/flexi-capture/connectors/pega/pega-collect).
 ## Create the flow action
In **Dev Studio**, click **Records → Process → Flow Action → Create**.
Fill in the **Label** and **Identifier** fields. Then select the application that contains the case and replace `Rule-Obj-Activity` in the **Apply to** field with the full name of the case.
## Create the flow action
In **Dev Studio**, click **Records → Process → Flow Action → Create**.
Fill in the **Label** and **Identifier** fields. Then select the application that contains the case and replace `Rule-Obj-Activity` in the **Apply to** field with the full name of the case.
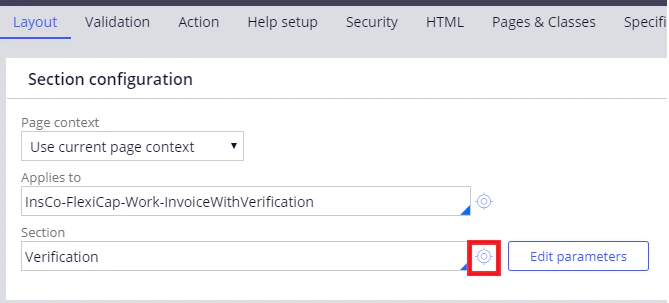
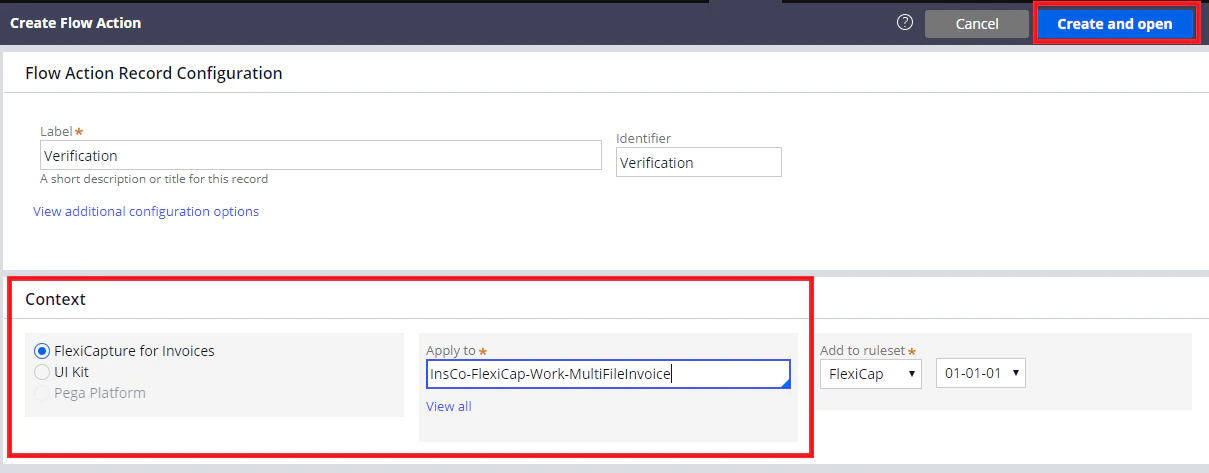 Click **Create and open**. On the **Layout** tab, specify the section name in the **Section** field, and then click the configuration button to the right of the field.
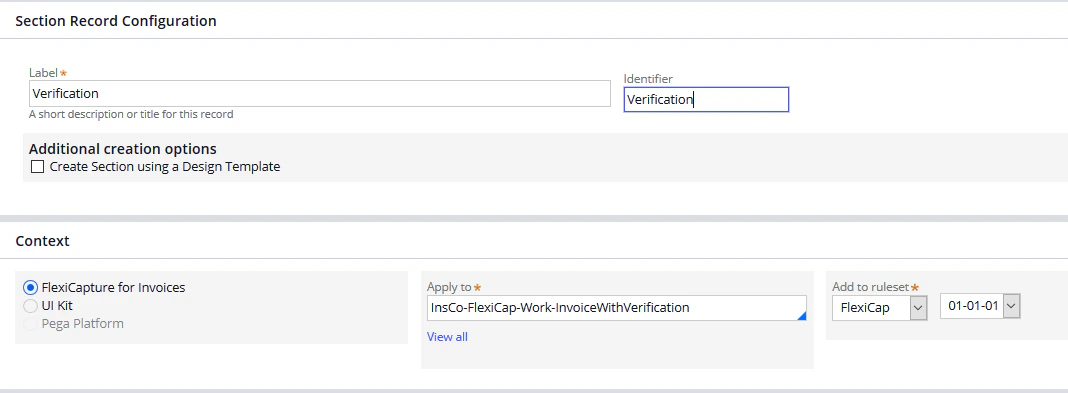
 In the dialog box that opens, fill in the **Label** and **Identifier** fields. Then select the application that contains the case and check that the full name of the case type is specified in the **Apply to** field.
Click **Create and open**. To view a list of all sections, open **Dev Studio** and click **Records → User Interface → Section**.
In the dialog box that opens, fill in the **Label** and **Identifier** fields. Then select the application that contains the case and check that the full name of the case type is specified in the **Apply to** field.
Click **Create and open**. To view a list of all sections, open **Dev Studio** and click **Records → User Interface → Section**.