When installed on a cluster, the Processing Server uses file storage for temporary files. If that file storage fails, the entire cluster goes down. Making the file storage fail-safe keeps the cluster running.
DFS Namespaces and DFS Replication are one way to achieve this. DFS Namespaces builds a virtual directory from folders on different servers, so the directory stays reachable even if one server fails. DFS Replication tracks changes to the ServerSettings.xml files and copies them to a backup folder.
The file storage that holds document images and captured data needs a hardware solution, such as RAID disks. Software-based distributed storage solutions are not supported for it.
Prerequisites
- A computer running Windows Server 2012 or later that is not used as a cluster node or for file storage
- The DFS Namespaces and DFS Replication roles set up on that computer
- The DFS Namespaces and DFS Replication roles set up on all of the nodes
- A shared folder, with full control permissions for the
node1admin and node2admin users, that serves as a backup when the main shared folder becomes inaccessible
These instructions use a host server named DCsrv. Any computer with the DFS roles set up will do.
Add the DFS roles
Start the Add Roles and Features Wizard
Open Server Manager and click Add Roles and Features.
Select the DFS roles
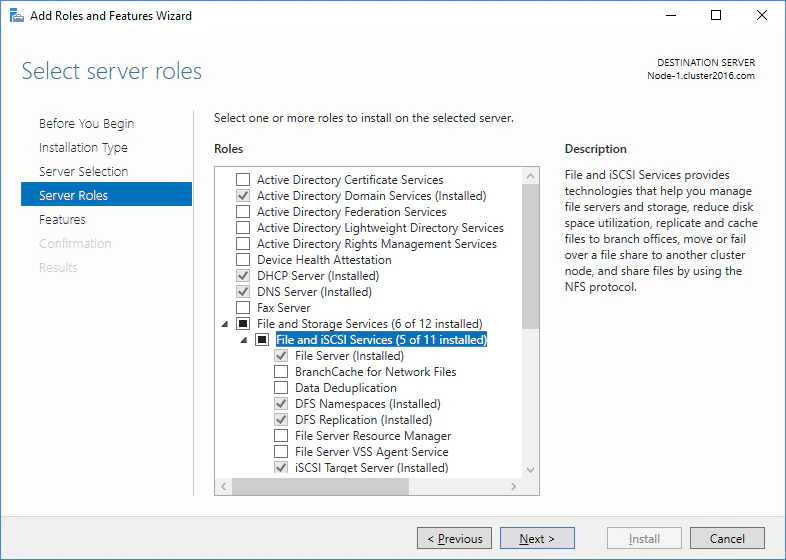
At the Select server roles stage, expand File and Storage Services and select DFS Namespaces and DFS Replication. Create shared folders
The shared folder must meet three conditions:
- It replicates data from the cluster only.
- It sits outside the cluster nodes and outside the file storage.
- Every node can reach it.
To create it, open Server Manager, click File and Storage Services → Shares, and then click Tasks → New Share…. Then complete steps 2 through 14 of Create a shared folder for the Processing Server service.
Create a namespace
You create and configure namespaces in the DFS Management console. There you select a server, grant access permissions, and set the namespace type.
Open the New Namespace Wizard
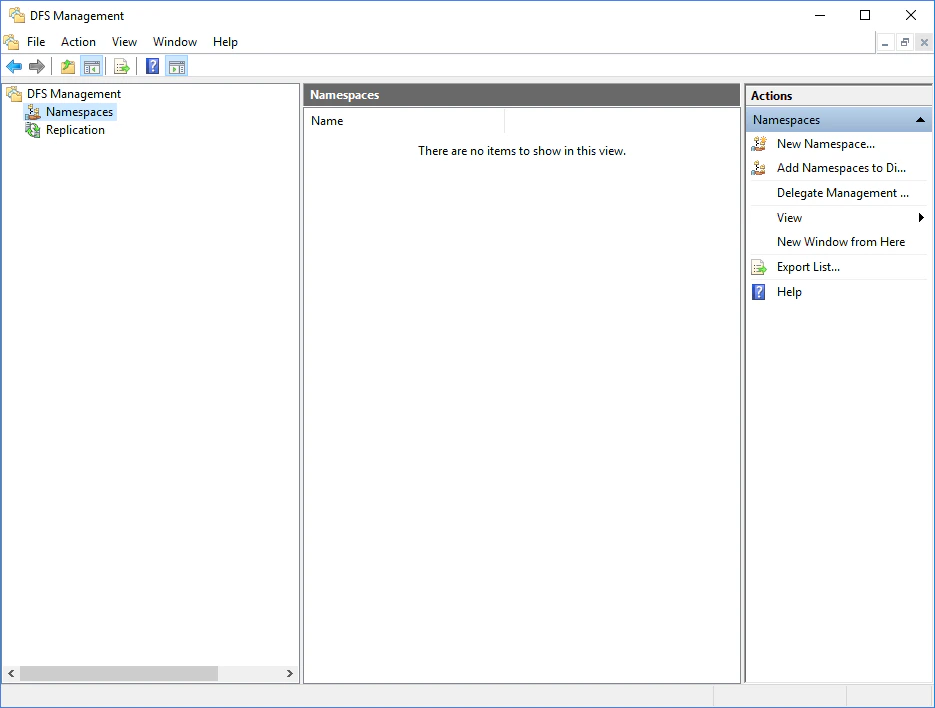
Open Server Manager and click Tools → DFS Management. In the DFS Management snap-in, click New Namespace…. Name the host server
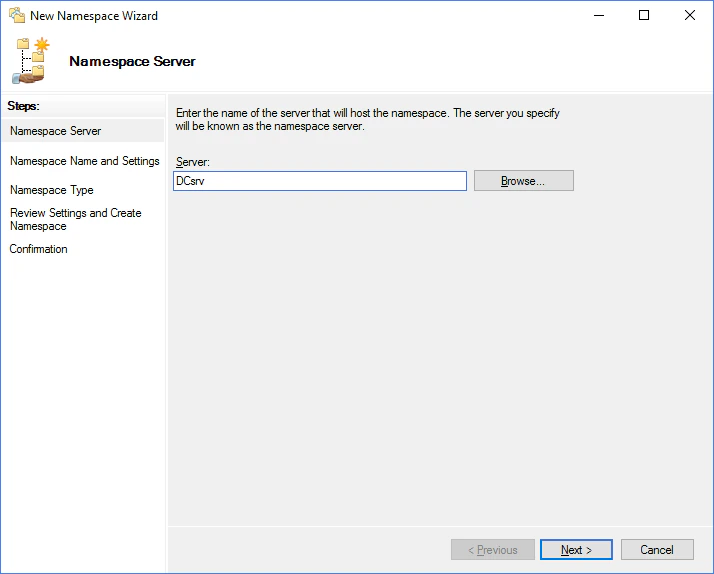
Specify the name of the server that will host the namespace and click Next. Name the namespace
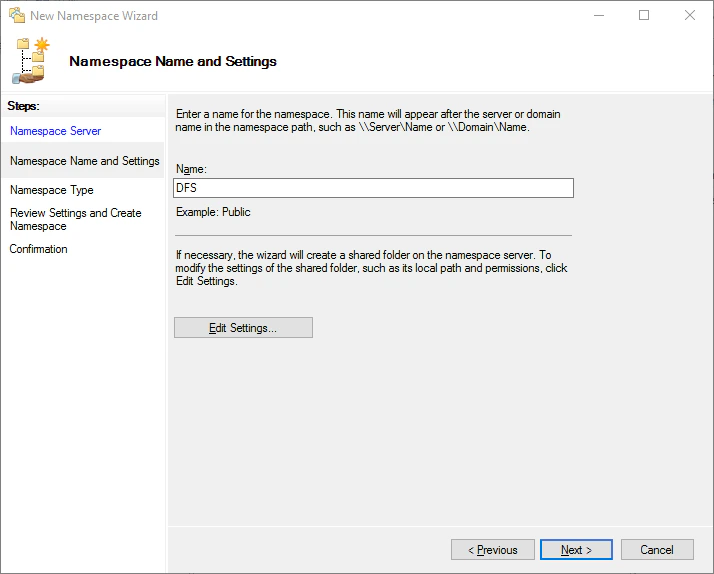
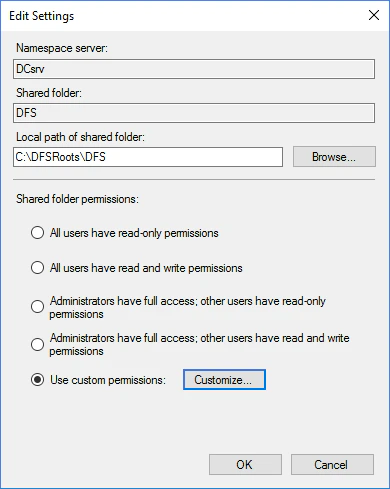
Specify a name for the namespace and click Edit Settings…. Grant permissions on the shared folder
In the Edit Settings dialog box, select Use custom permissions and click Customize…. Grant full control permissions for the shared folder to the node1admin and node2admin users. Choose the namespace type
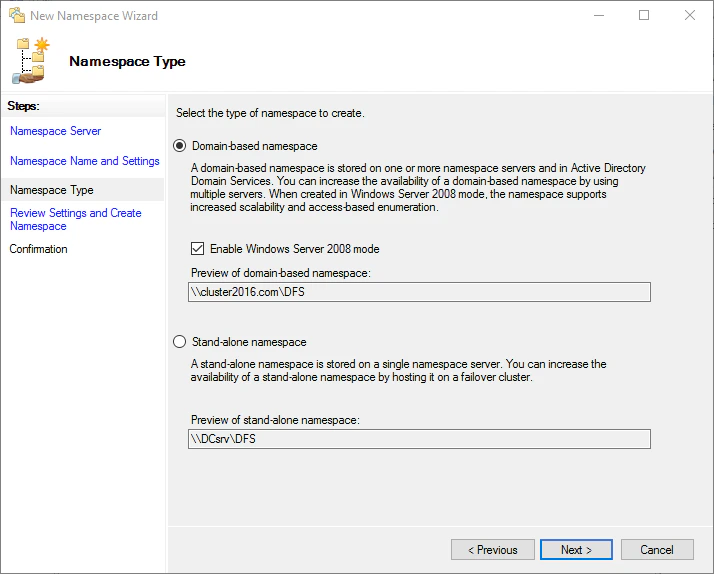
At the Namespace Type stage, select Domain-based namespace, select Enable Windows Server 2008 mode, and then click Next. Review the settings and create the namespace
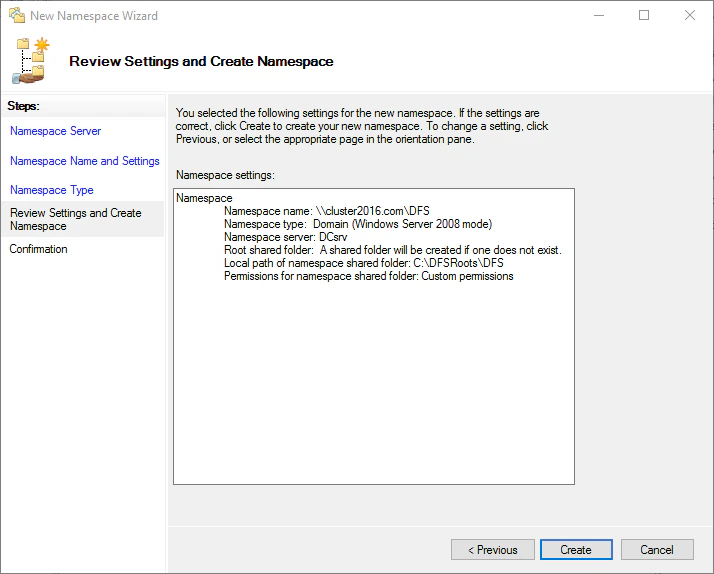
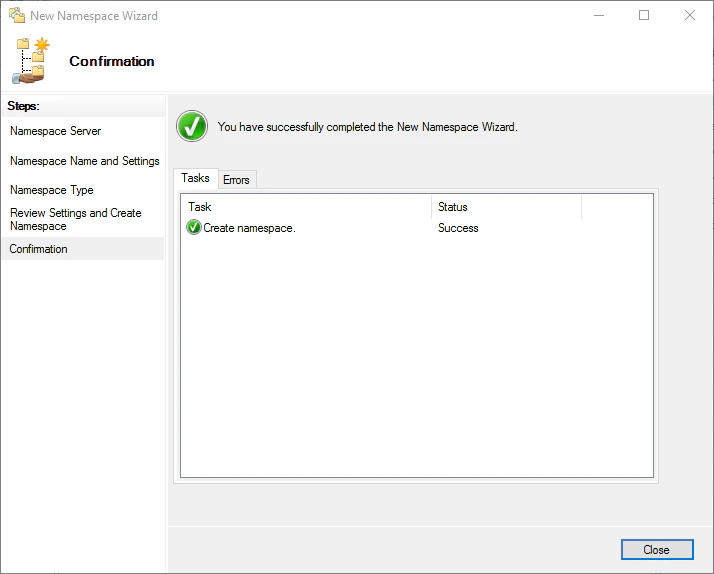
Check that the settings are correct and click Create. Add the shared folders to the namespace
Add both the main and the backup shared folder to the namespace.
Start a new folder
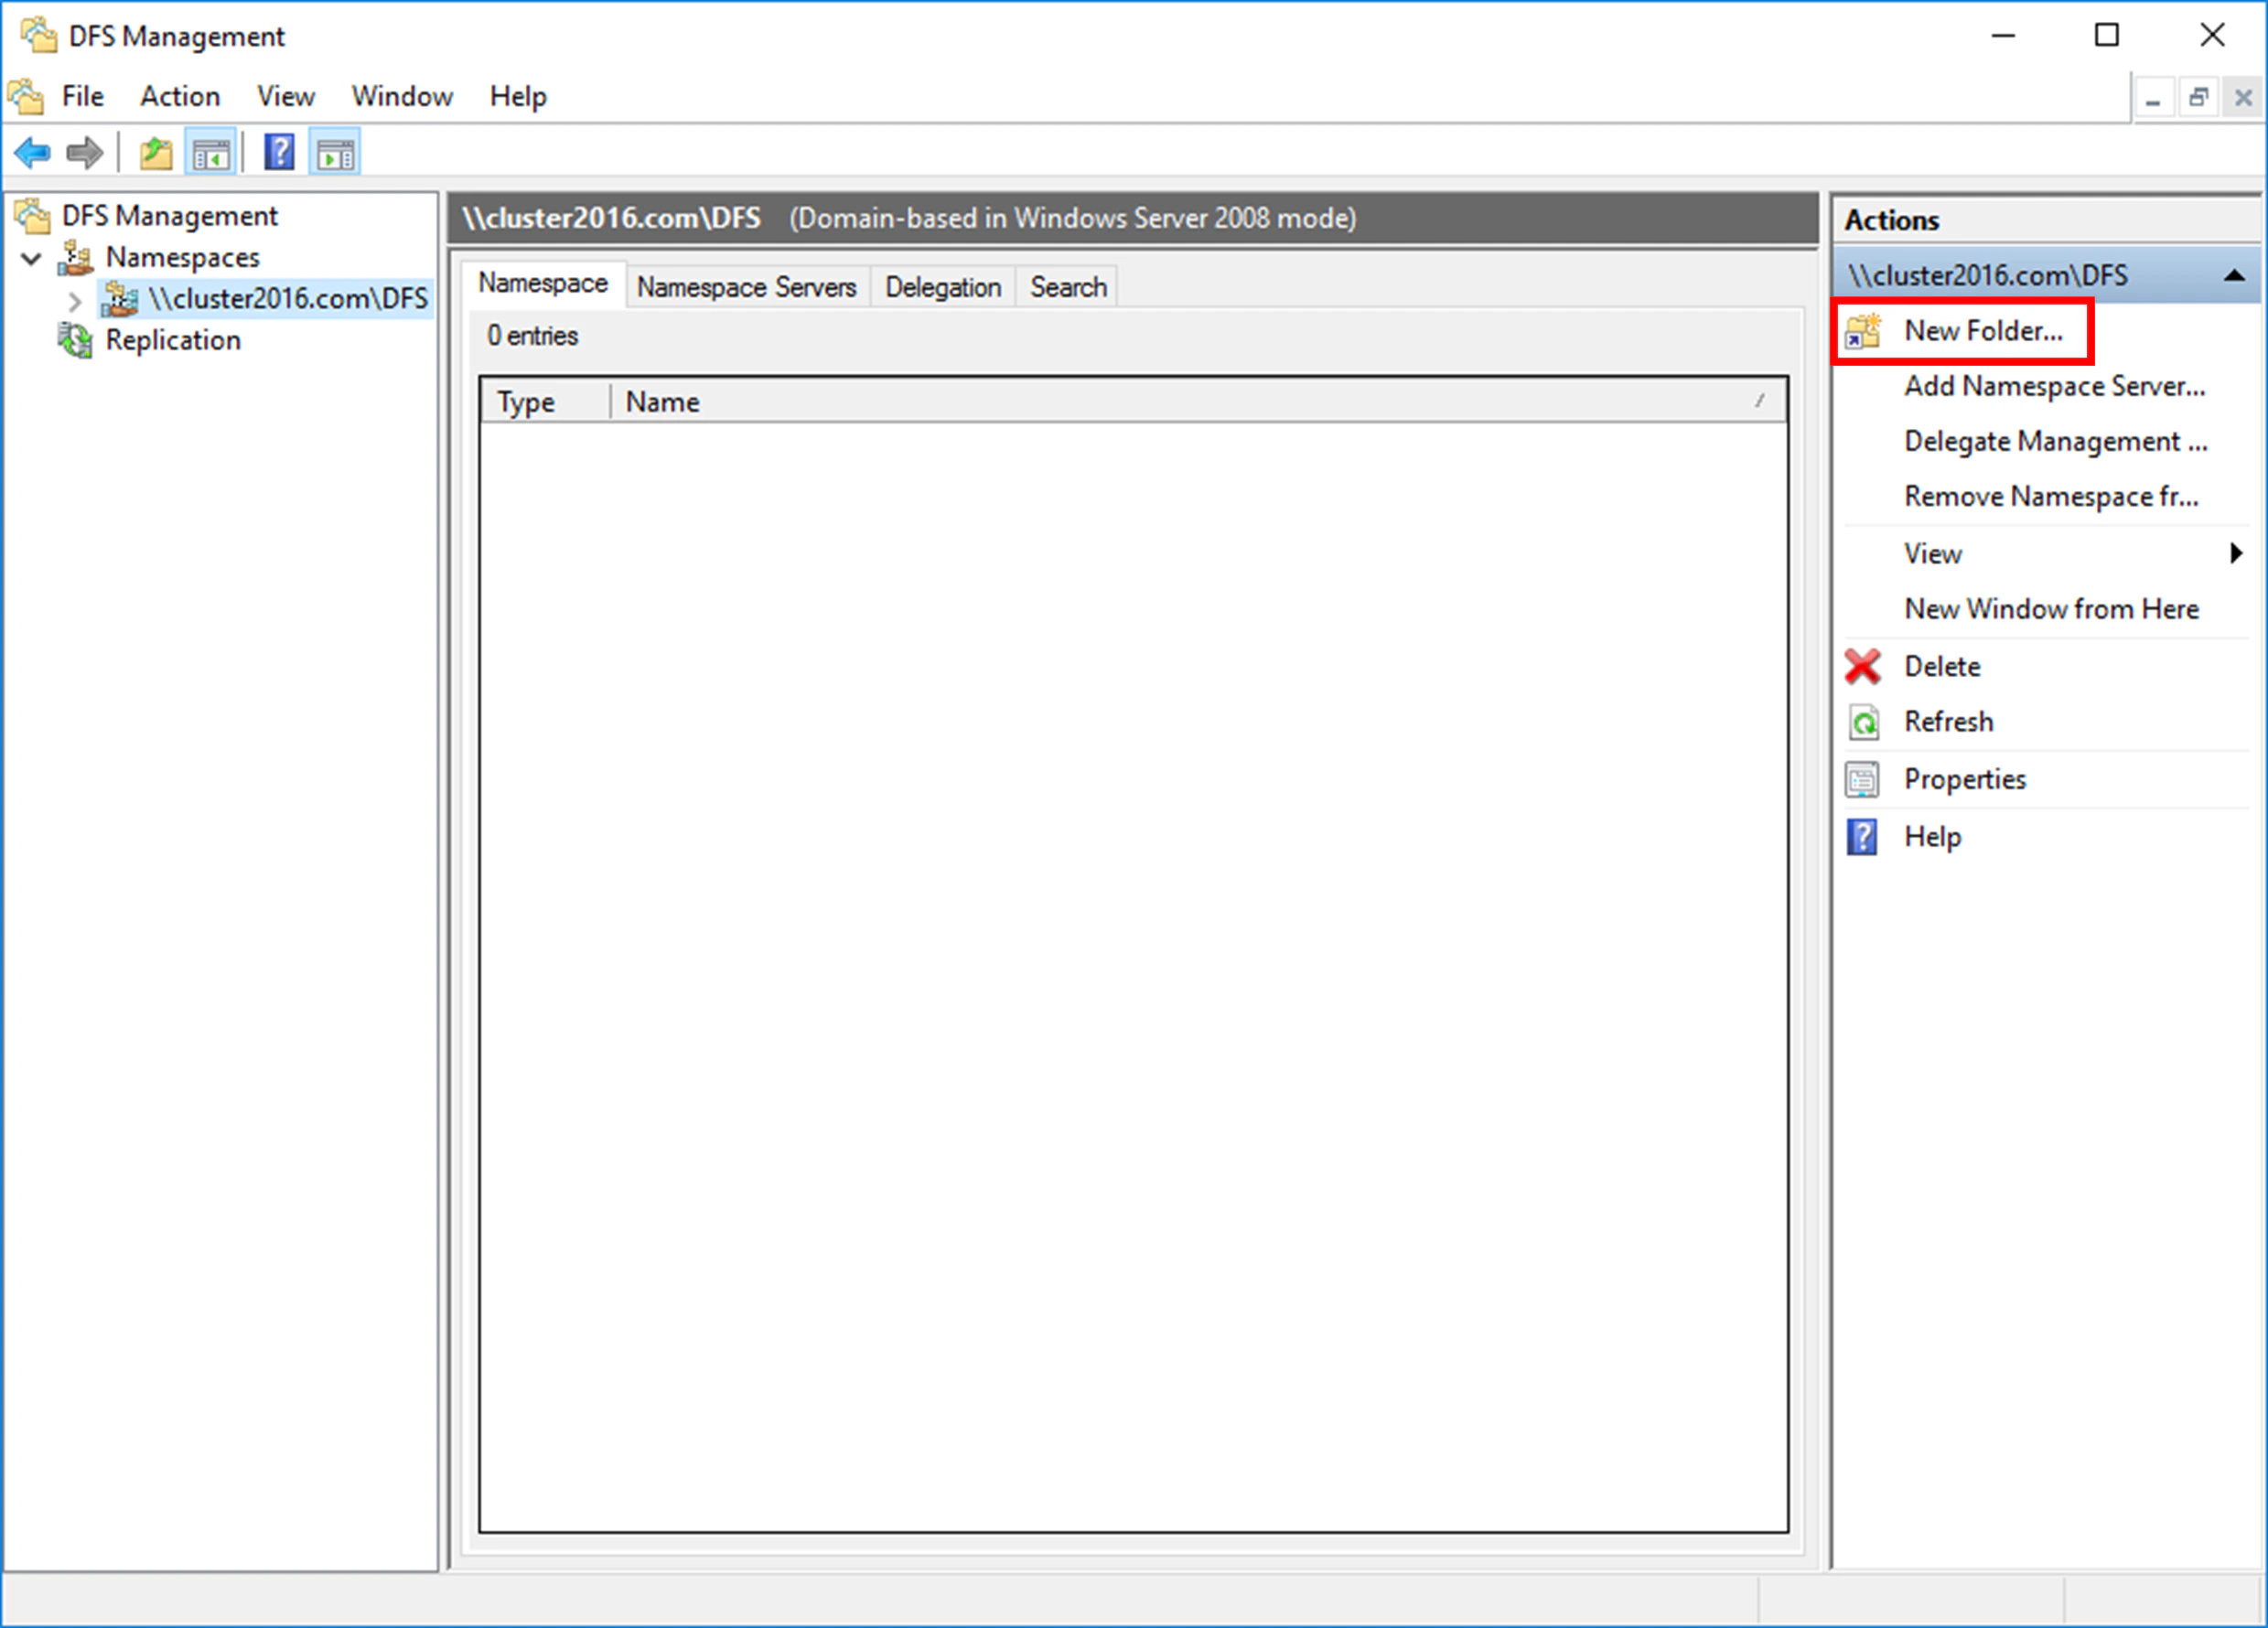
In the DFS Management snap-in, click New Folder…. Name the folder
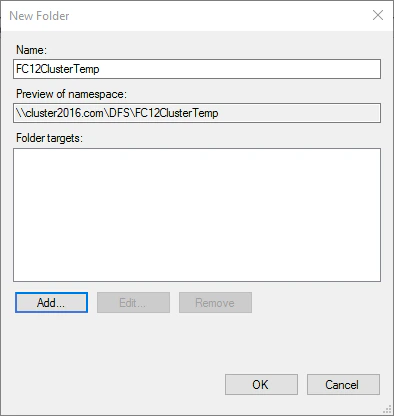
Specify a name for the folder and click Add…. This name appears in the namespace of the distributed file system.The folder name must differ from the name of every replicated folder.
Add the main shared folder
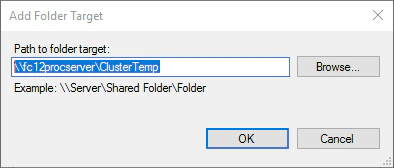
Specify the path to the shared folder and click OK. Add the backup folder
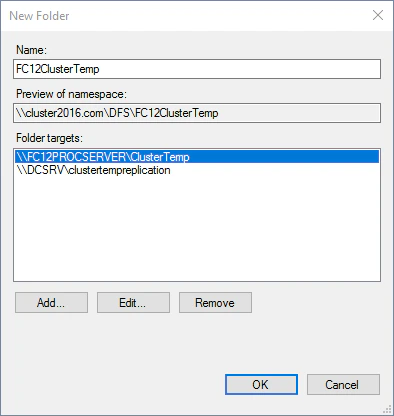
Click Add… again and specify the path to the backup folder. Both folder targets appear in the Folder targets list. Click OK. Accept the offer to create a replication group
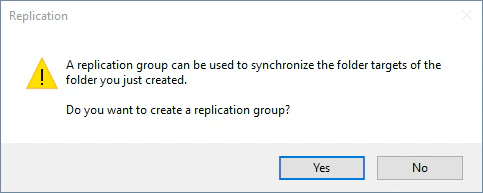
A message offers to create a replication group. Click Yes to create one and start setting up replication. Set up replication
The Replicate Folder Wizard walks you through the replication group, the primary server, the connection topology, the schedule, and the bandwidth.
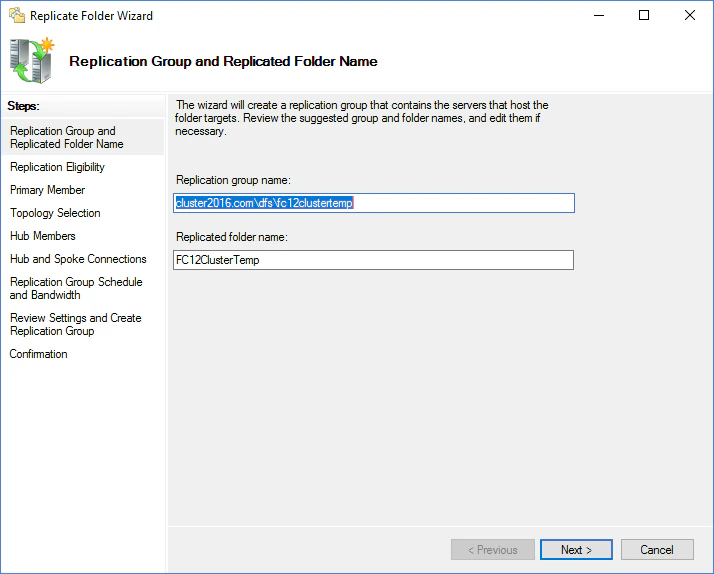
Accept or edit the suggested names
The wizard suggests names for the replication group and the replicated folder. Edit them if you need to, and then click Next. Check folder target eligibility
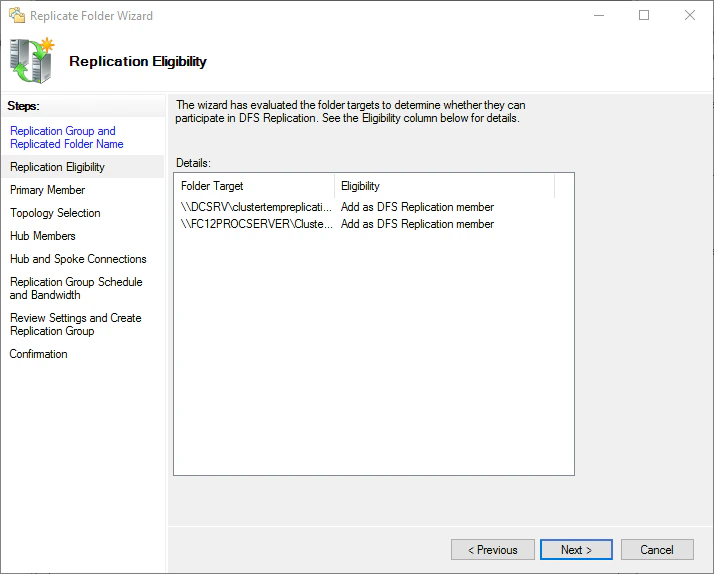
The wizard reports whether the folder targets can take part in replication. Review the Eligibility column and click Next. Select the primary member
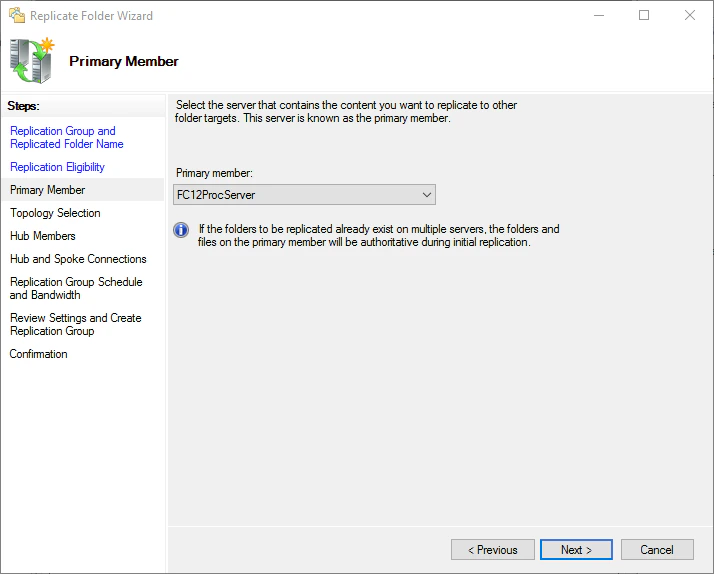
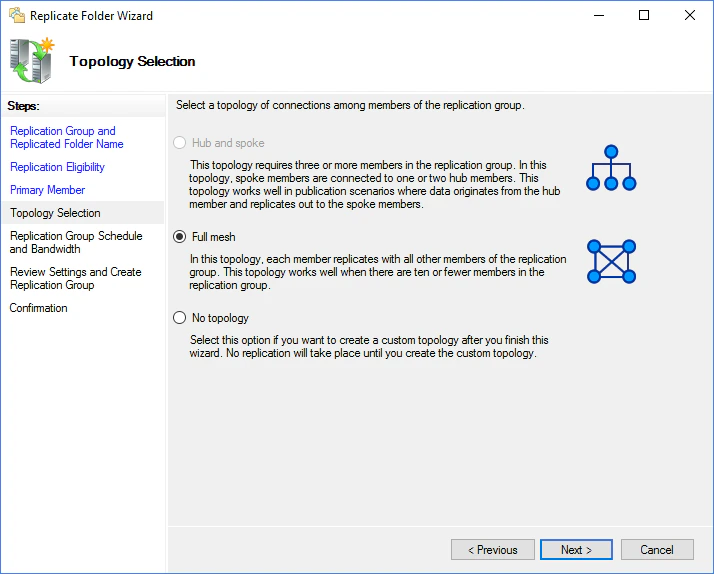
Select the server that holds the data to be replicated to the folder targets and click Next. Select the topology
Select Full mesh and click Next. Set the schedule and bandwidth
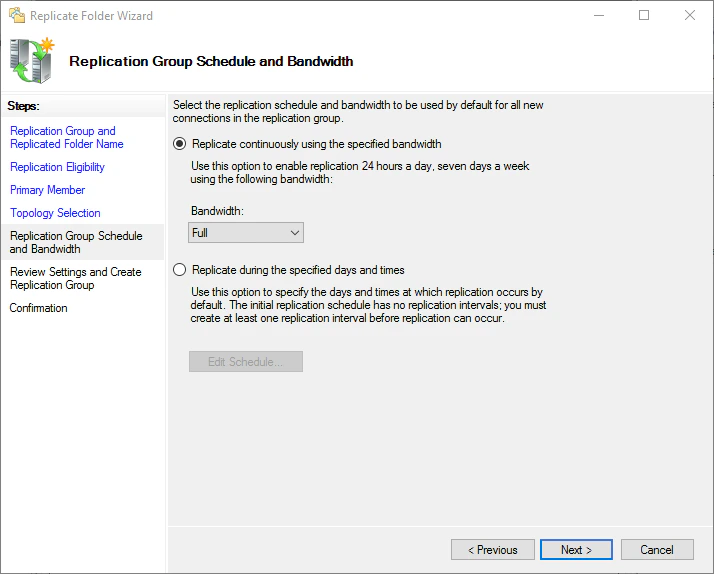
Select Replicate continuously using the specified bandwidth. In the Bandwidth drop-down list, select Full, and then click Next. Review the settings and create the group
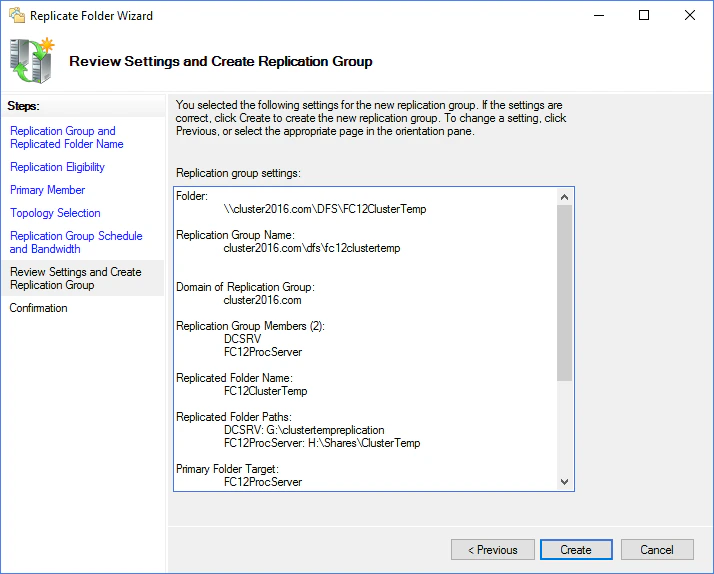
Check that the settings are correct and click Create. Close the wizard
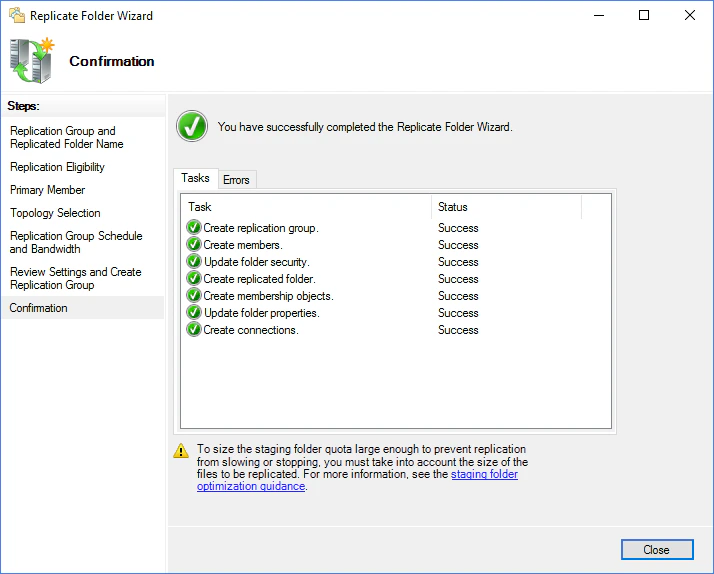
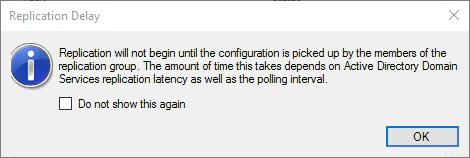
After the replication group is created, click Close. Dismiss the replication delay message
If a Replication Delay warning appears, click OK. Test replication
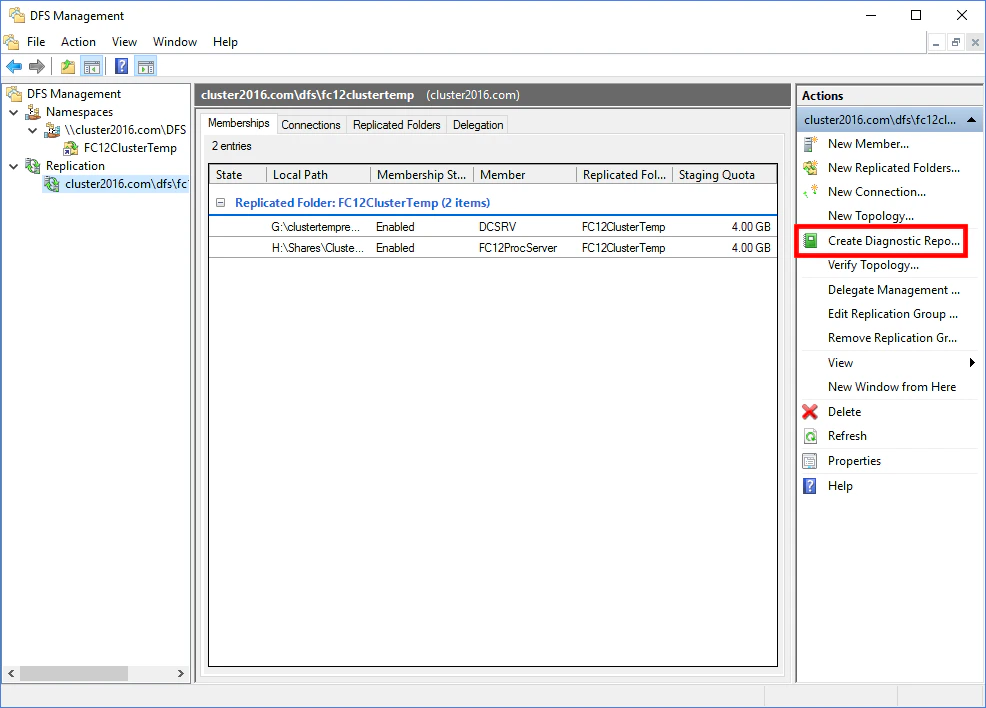
Test replication to confirm that it works. Open the DFS Management snap-in, select the new replication group, and click Create Diagnostic Report.
In the Diagnostic Report Wizard that opens, select Propagation test and follow the wizard. Keep the default settings.
The wizard displays a diagnostic report when the diagnostic finishes.
Set up priorities for the folder targets
Priorities on the folder targets reduce the risk of malfunction.
The following steps show one possible setup. Other setups may suit your needs better. For more information, see Set target priority to override referral ordering in the Microsoft documentation.
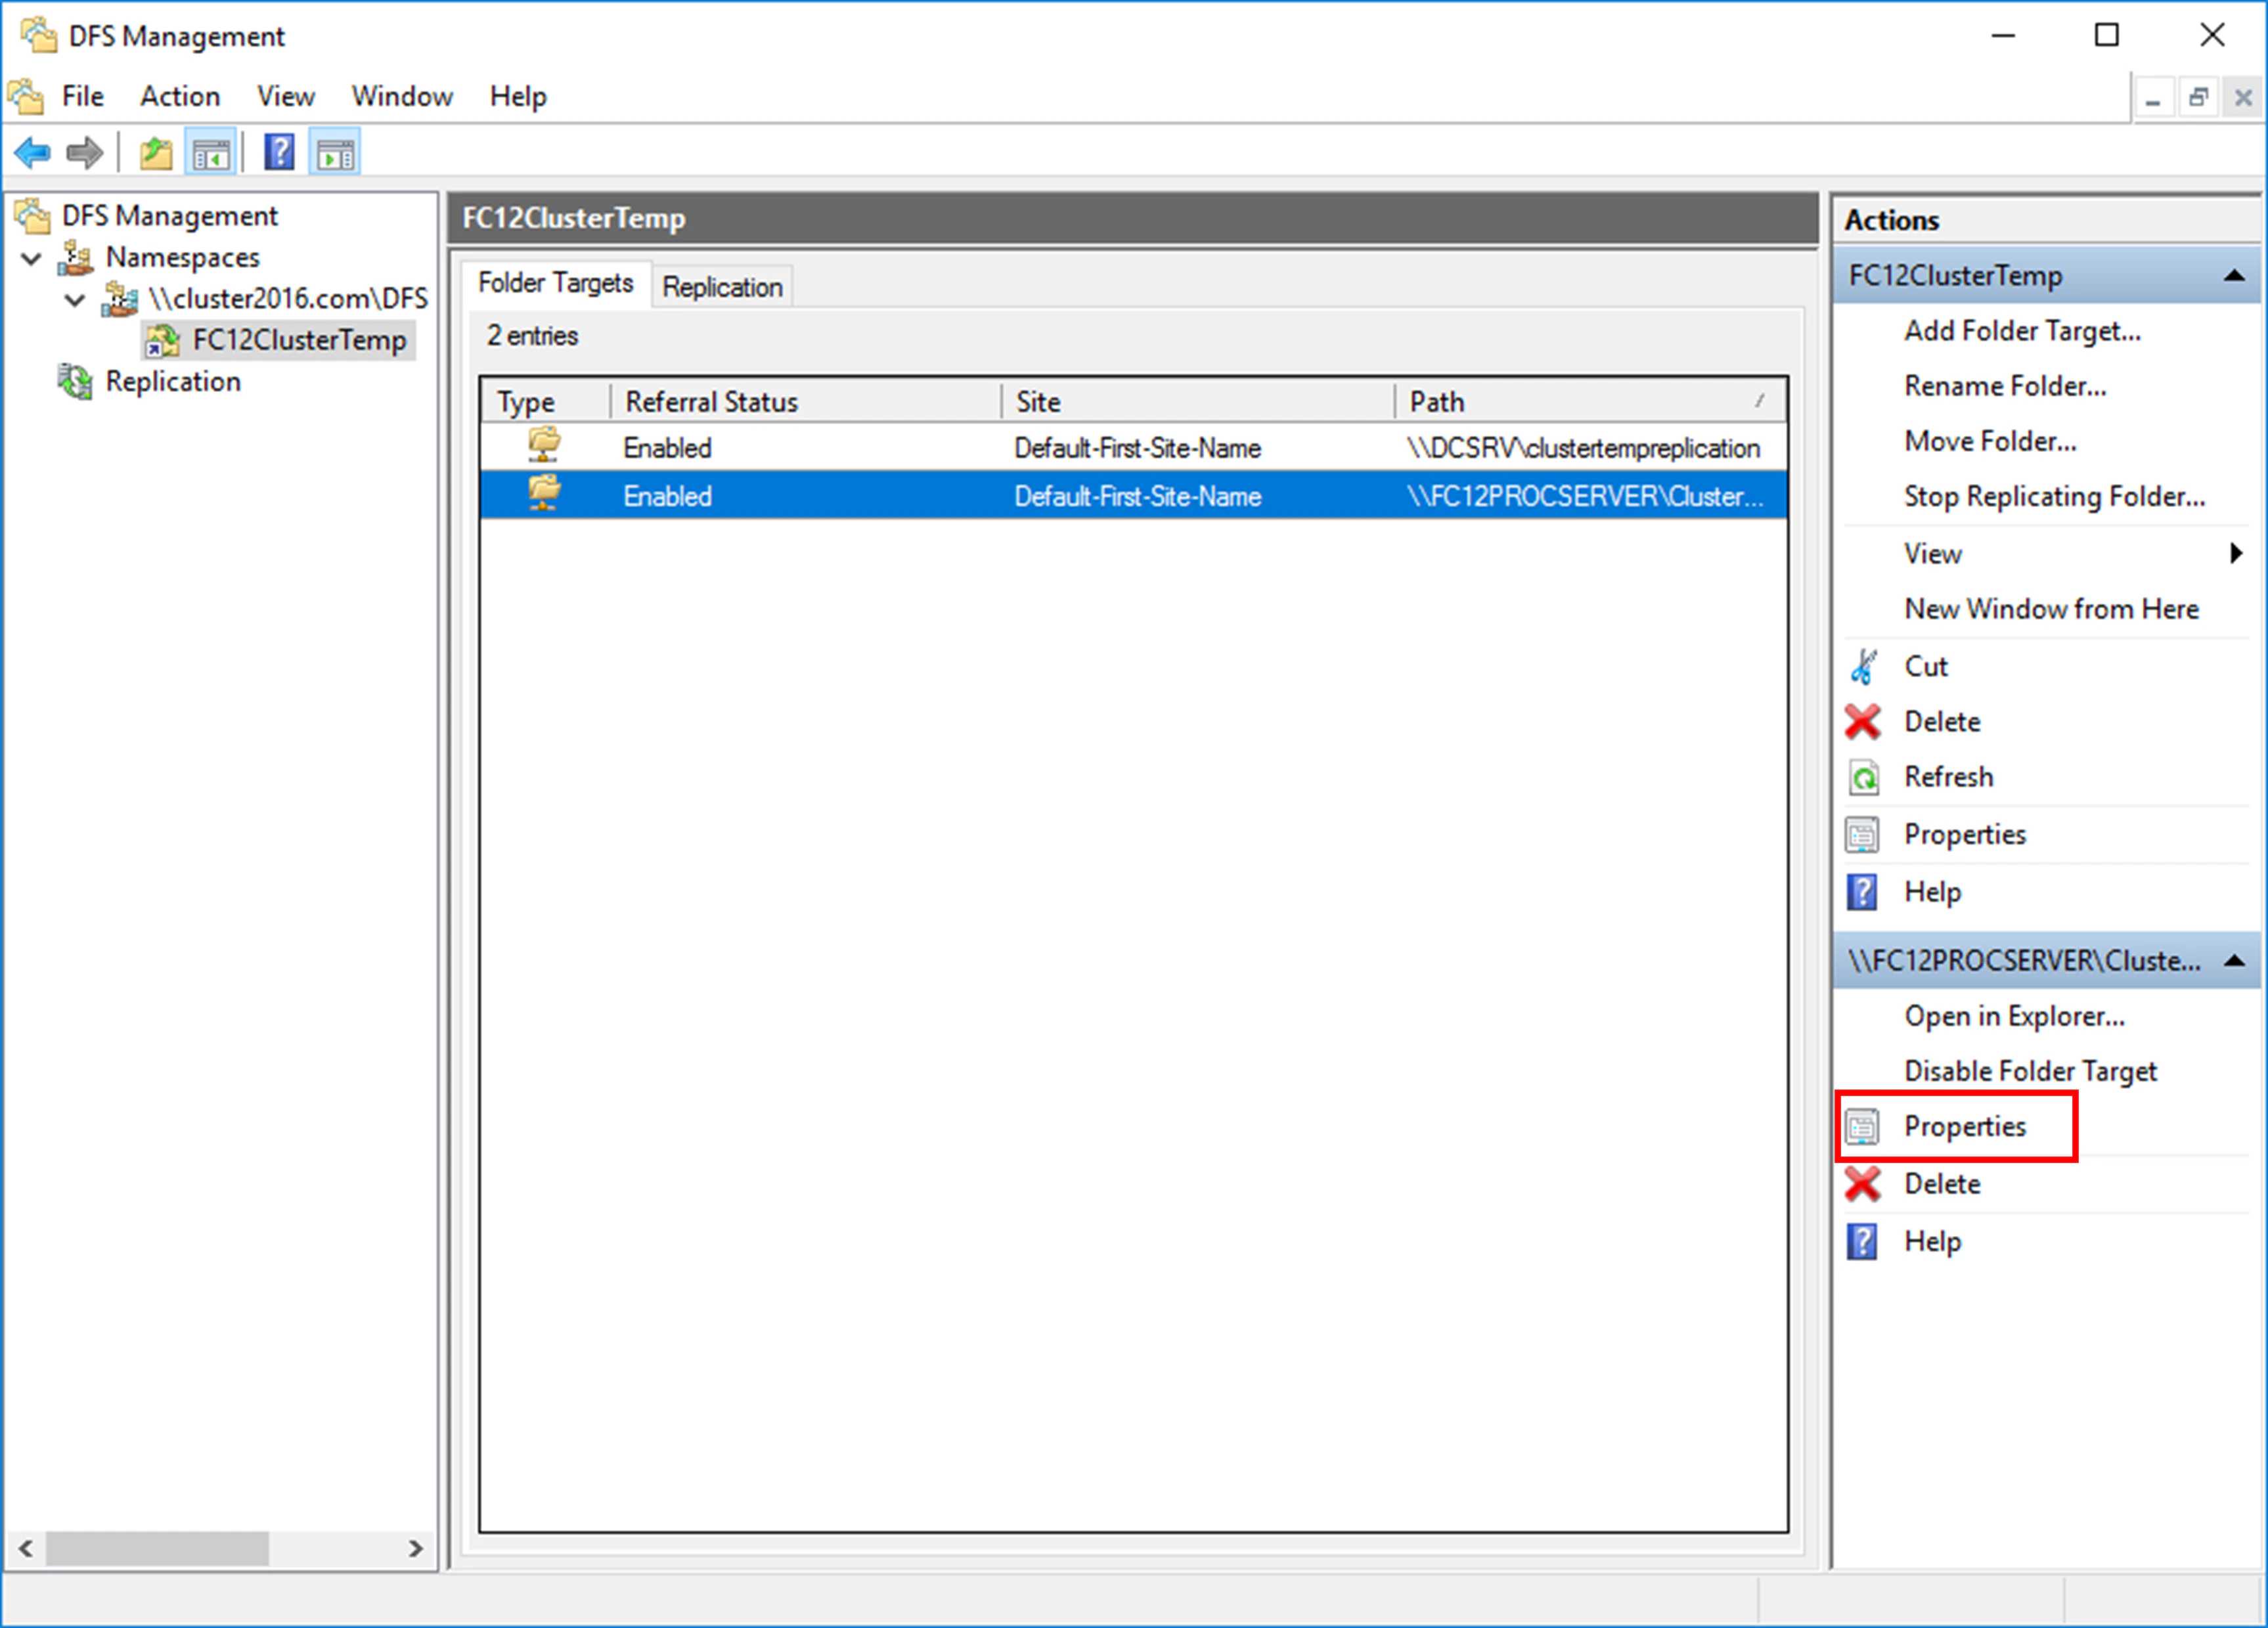
Open the properties of the shared folder
Open your namespace, and then open the properties of the shared folder. Override the referral ordering
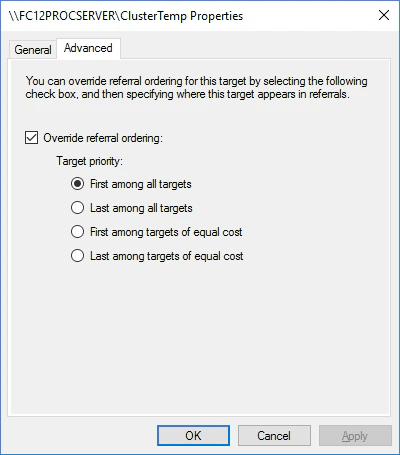
Click Advanced, select Override referral ordering, and then select First among all targets. Users are then always directed to that folder target while it is accessible. Configure the ABBYY FlexiCapture Processing Server service
These settings keep the cluster that hosts the ABBYY FlexiCapture Processing Server service running even if the file storage fails.
If the file storage fails, data about the sessions open at the time of the failure may be lost.
Point the service at the settings file in the namespace
Complete steps 1 through 4 of Set up the ABBYY FlexiCapture Processing Server service. In step 1, change the path to the file that holds the Processing Server settings, so that the command reads as follows:Type this command manually. Copying and pasting it can introduce redundant new line characters, which makes the command fail.
Repoint the %appdata% variable
Change the %appdata% variable in the Windows registry to \\cluster2016.com\DFS\FC12ClusterTemp. For more information, see Change the %appdata% variable.