CaptureData.ums5 scenario sends a single document image to ABBYY FlexiCapture and stores the extracted data in a folder you specify, along with the name of the matching Document Definition.
Before you run this scenario, upload a configured ABBYY FlexiCapture project to the Application Server. For more information, see Upload the project to the Application Server.
Configure the scenario
1
Create a workflow
Click File → New.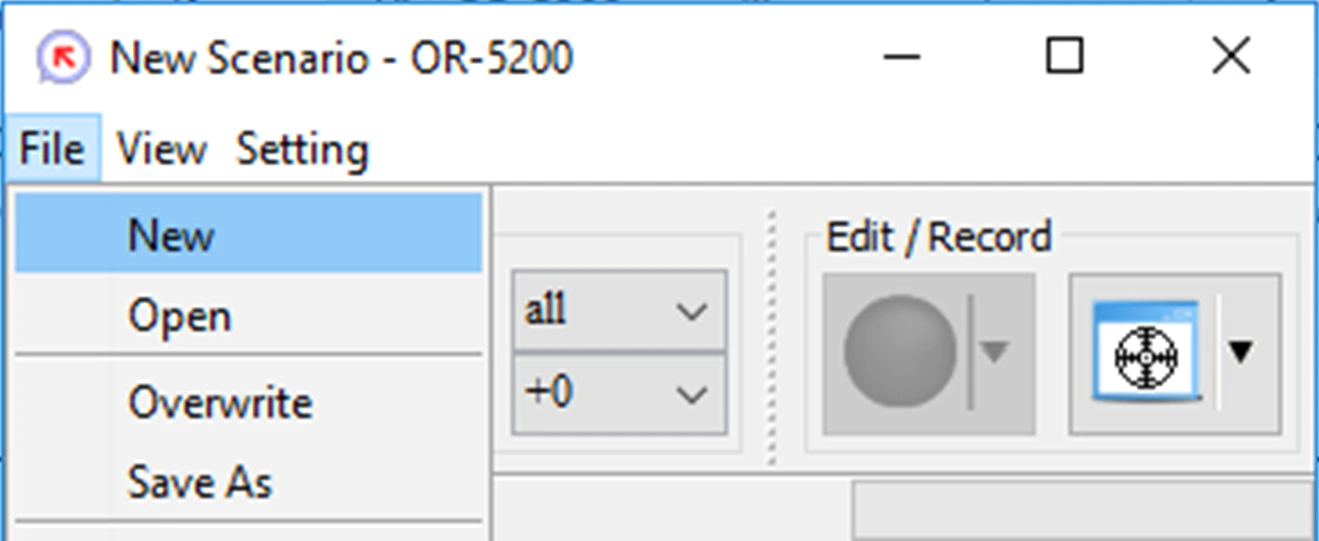
2
Add the scenario to the workspace
In the Flowchart window, click the Library tab, and then drag the 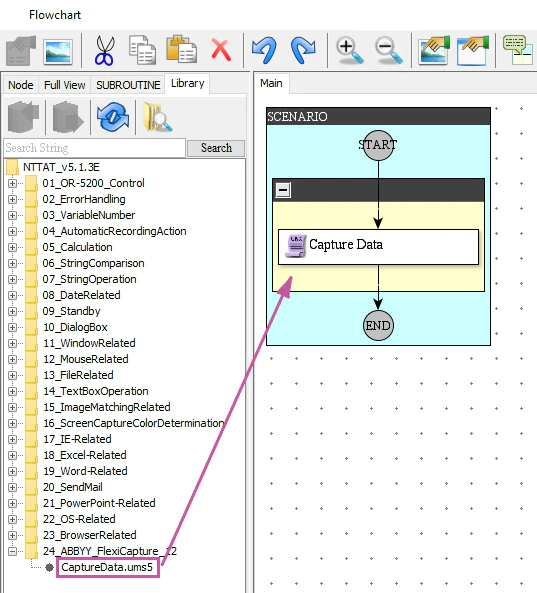
CaptureData.ums5 scenario onto the workspace.3
Specify the settings
Double-click Capture Data on the flowchart to open the Property - Run Script window. Click the Settings tab and specify the following: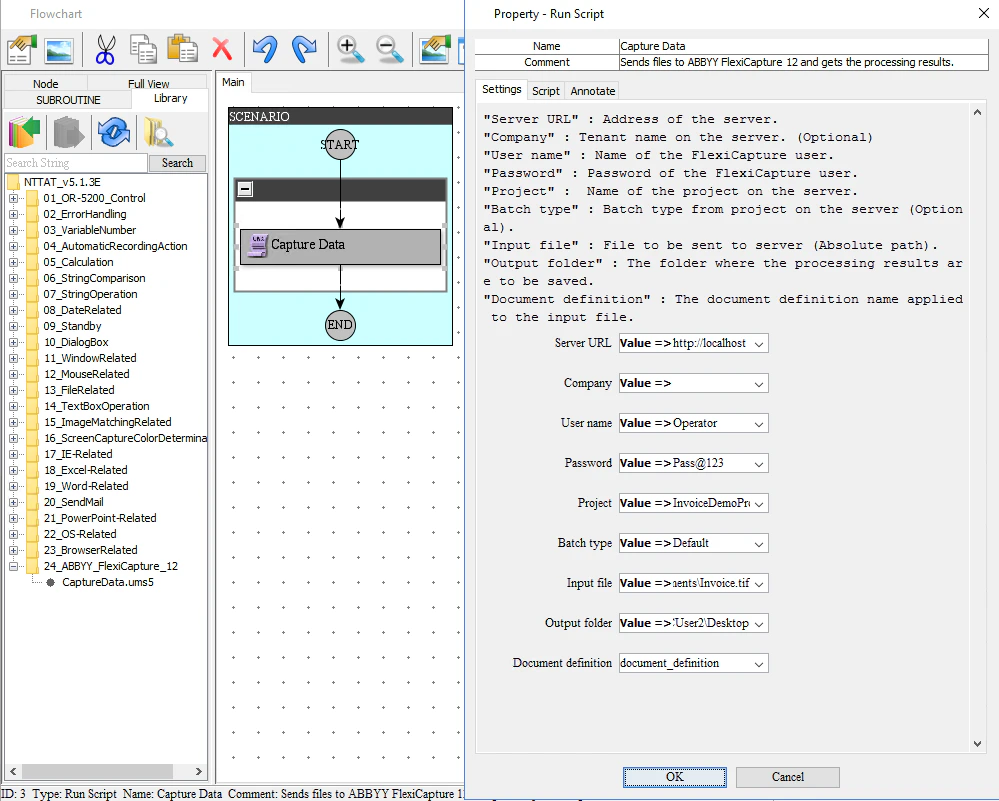
- The settings used to connect to the ABBYY FlexiCapture server
- The path to an input document image
- The path to an output folder where extracted data is stored
- A variable that stores the name of the matching Document Definition
- Enter them directly, using the
Value=>MyValuesyntax. - Create the variables in the Variable List window, and then specify their names in the Property - Run Script window.
Run the scenario
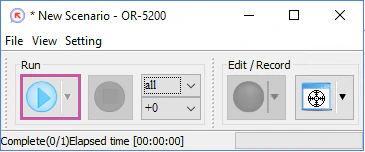
Click Run.