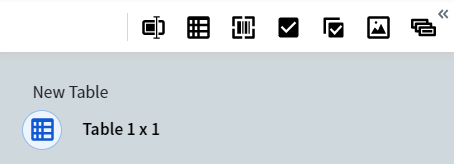
A new 1×1 table in the data form
Open and close a table
To open a table, click the icon under its name in the data form, or click the table’s region on the document image. The icon of the open table is highlighted in blue inside a cyan circle. To close a table, do any of the following:- Click the icon under the table name.
- Click a different field in the data form.
- From a row or column dropdown menu, select Close table.
- From the table menu (icon in the upper-left corner of the table), select Close table.
Populate a table
Add a value to a cell
- Select the cell with the cursor.
- Mark a region on the document image. Vantage extracts the data from the region into the selected cell.
Auto-fill the rest of the table
You can auto-fill table rows after you’ve marked the first one (or several topmost rows):- Mark the top row, or several topmost rows, in the table.
- Click the icon next to the last cell, or select Continue table from this row from the dropdown menu.
Auto-fill processes up to 10 pages of table data at a time. For longer tables, repeat the command on the remaining rows.
Add rows or columns manually
Use the Create column and Create row buttons to add rows or columns. From a row or column dropdown menu, you can also insert a new row or column at a specific location, or delete one or more rows or columns.Navigate between cells
Set table properties
Table cells have the same general properties and data-type-specific properties as regular text fields. All cells in a column share the same properties — the column is a single repeating field. To set column properties, select Column settings from the column dropdown, or select a cell in the column and press Alt + Enter.Column width
The default column width is 2 characters. To resize a column, drag the separator between column headings. Column widths you set are preserved in manual review.Rename a column or table
- Column — Double-click the column name, or select Rename column from the column dropdown.
- Table — Triple-click the table name.