Create the section and its layouts
1
Create the section
In Verification Flow Action, create a section named
Verification and open it on the Design tab.2
Add two dynamic layouts
Add an Embedded section named
VerificationSection to the first dynamic layout, and a button named Submit to the second.For the configuration of each one, see Add the embedded verification section and Add a custom Submit button.Add the embedded verification section
1
Set the page context and section
Select Use current page context in the Page context list. Then select By name in the Section field and specify
VerificationSection.2
Create the new section
Click the configuration button to create a new section.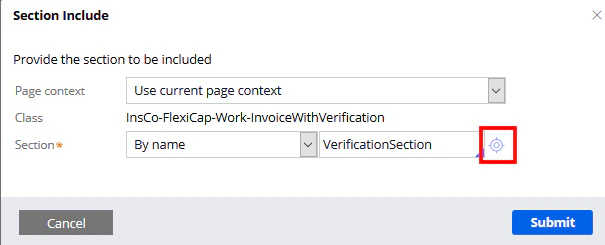
3
Open the HTML tab
Click Create and open, and then click the HTML tab.
4
Enter the section code
Clear the Auto-generated HTML option and enter the section code.
VerificationSection.html
Copy the section code from theVerificationSection.html file in this folder:
Add a custom Submit button
Align the dynamic layout to the right of the screen before you add the button. Open the properties of the dynamic layout, click the Presentation tab, select Right in the Float field, and then click Submit to apply the changes.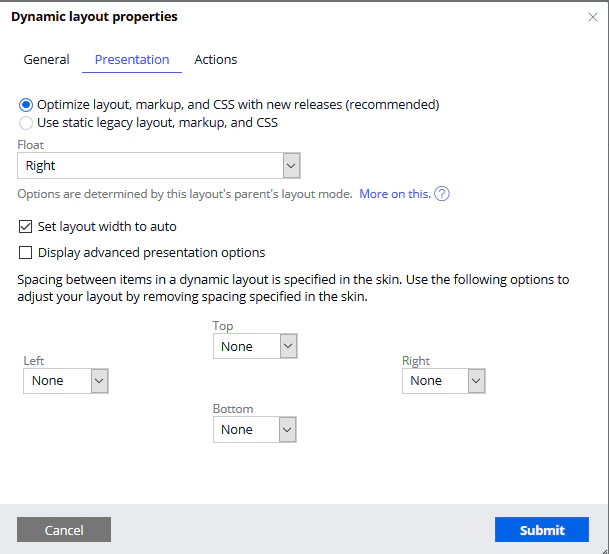
1
Add the button element
Add a basic Button element to the dynamic layout and open its properties.
2
Set the button caption
Click the General tab and specify 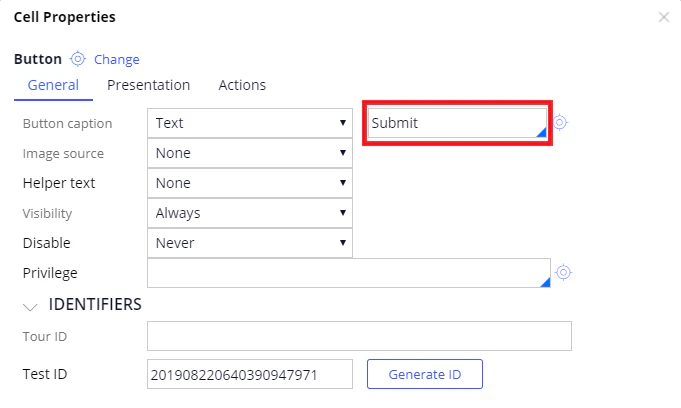
Submit for the button caption text.3
Set the control format
On the Presentation tab, select Strong in the Control format list.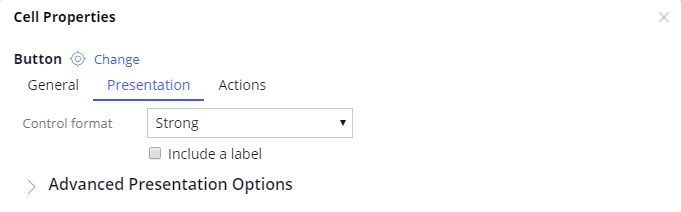
If the Submit button is not displayed for your case, select Standard instead.
4
Connect the click action
On the Action tab, add a Click event and connect it to the Finish Assignment action.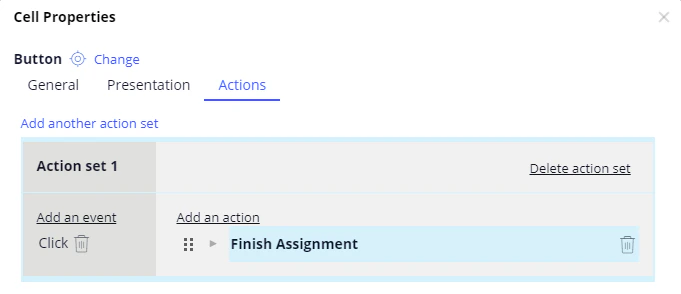
5
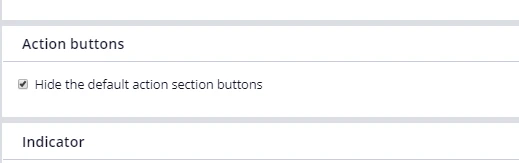
Hide the default buttons
Click Submit. To hide the standard set of buttons for the flow, that is Cancel, Save, and Submit, open Verification by clicking Records → Process → Flow Action, click the Action tab, and select Hide the default action section buttons.