
1
Open the Batch tab
In the FlexiLayout Studio main window, click the Batch tab.
2
Start adding images
Select the Add Images… command in the File menu or on the shortcut menu.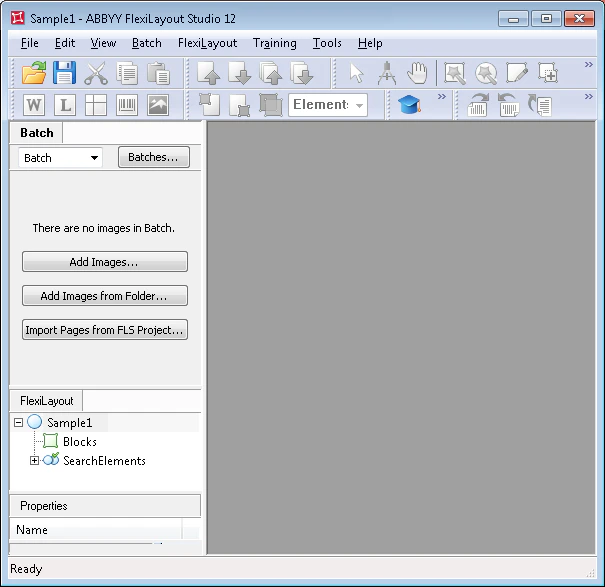
3
Select the document assembly method
In the Open Images dialog box, click Image Preprocessing Settings…, and then in the dialog box that opens, select the One document per file option.
4
Specify the test image files
The Sample 2 images are located in
%public%\ABBYY\FlexiCapture\12.0\Samples\FLS\English\Recipe\<page number>\Images\bwPage.frdat.5
Review the batch
The test images you added appear in the Batch window.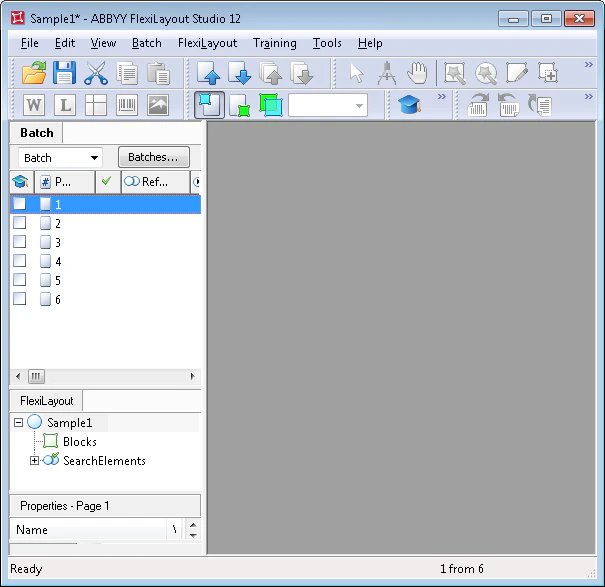
When adding images, you can immediately specify how the reference document assembly is performed. Selecting One document per file tells FlexiLayout Studio that each image is a separate document. For more information, see Reference document assembly.