
Contents of the Photo Group element
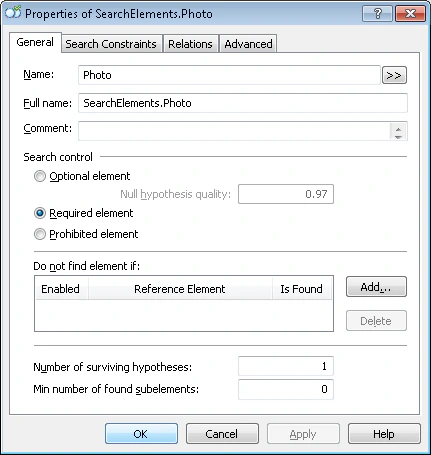
- A PhotoPicture element of type Object Collection corresponding to the photo.
- A PhotoHeader element of type Static Text corresponding to the name YOUR PHOTO IN FANCY DRESS.
- Four separators around the photo that are required to find the PhotoPicture element.
Create the PhotoHeader element
Because the name YOUR PHOTO IN FANCY DRESS occurs nowhere else in the document, add its element to the Group element first and use it to locate the separators. Create a Static Text element named PhotoHeader, and give it the same settings as the other field names. Match the FlexiLayout with the images. FlexiLayout Studio reliably detects the name on all of them.Create the separator elements
Create Separator elements for the four separators around the photo and give them the following names:
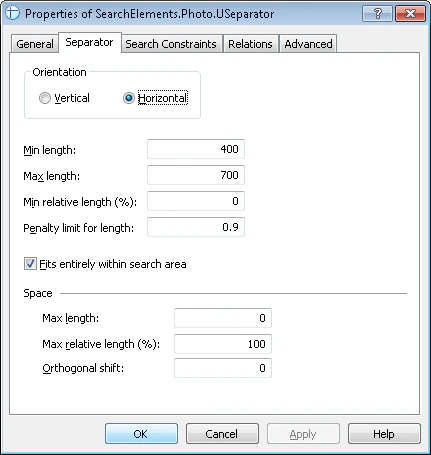
On the Separator tab in the Properties dialog box, specify the orientation of each of the four separators (Vertical or Horizontal). Do not change the other properties.
Specify the search areas for the separators
Now use the test images to specify the search area for each of the separators.Upper separator (USeparator element)
- Below the photo caption but not farther than 100 dots from its top boundary (Below the PhotoHeader element and Above the PhotoHeader, Offset = -100).
- Within the area that is not longer than the caption by more than 80 dots on each side (Left of the right boundary of the PhotoHeader element, Offset = -80, Reference boundary = right, and Right of the left boundary of the PhotoHeader element, Offset = -80, Reference boundary = left).
Lower separator (BSeparator element)
- Below the name of the NAME field (Below the NameHeader element).
- Above the bottom of IdentityNumber (Above the IdentityNumber element, ElementBoundary = bottom).
- Within the area that is not longer than the name by more than 80 dots on each side (Left of the right boundary of the PhotoHeader element, Offset = -80, Reference boundary = right, and Right of the left boundary of the PhotoHeader element, Offset = -80, Reference boundary = left).
Left separator (LSeparator element)
- Within the area that is not wider than the distance between the upper and lower separators by more than 50 dots on each side (Below the USeparator element, Offset = -50, and Above the BSeparator element, Offset = -50).
- No farther than 40 dots from the left boundary of the upper separator (Right of the left boundary of the USeparator element, Offset = -20, Reference boundary = left, and Left of the left boundary of the USeparator element, Offset = -20, Reference boundary = left).
Right separator (RSeparator element)
- Within the area that is not wider than the distance between the upper and lower separators by more than 50 dots on each side (Below the USeparator element, Offset = -50, and Above the BSeparator element, Offset = -50).
- No farther than 40 dots from the right boundary of the upper separator (Right of the right boundary of the USeparator element, Offset = -20, Reference boundary = right, and Left of the right boundary of the USeparator element, Offset = -20, Reference boundary = right).
Create the PhotoPicture element and block
1
Create an Object Collection element
Name it PhotoPicture.
2
Specify the search area on the Relations tab
On the Relations tab, specify the search area for the PhotoPicture element:
- Below the upper separator (Below the USeparator element).
- Above the lower separator (Above the BSeparator element).
- To the right of the left separator (Right of the LSeparator element).
- To the left of the right separator (Left of the RSeparator element).